
Configure the logo, text, slideshow, colors, fonts, card grid and back-to-top button.
Who this guide is for: owners and managers. Before making changes, make sure the correct establishment is selected.
Before you begin
- Sign in to the appropriate workspace and check the establishment name at the top of the page.
- Prepare the information you will enter. Payment and integration settings also require the provider's connection details.
- If an option is missing, check your plan and your role's permissions.
Setup steps
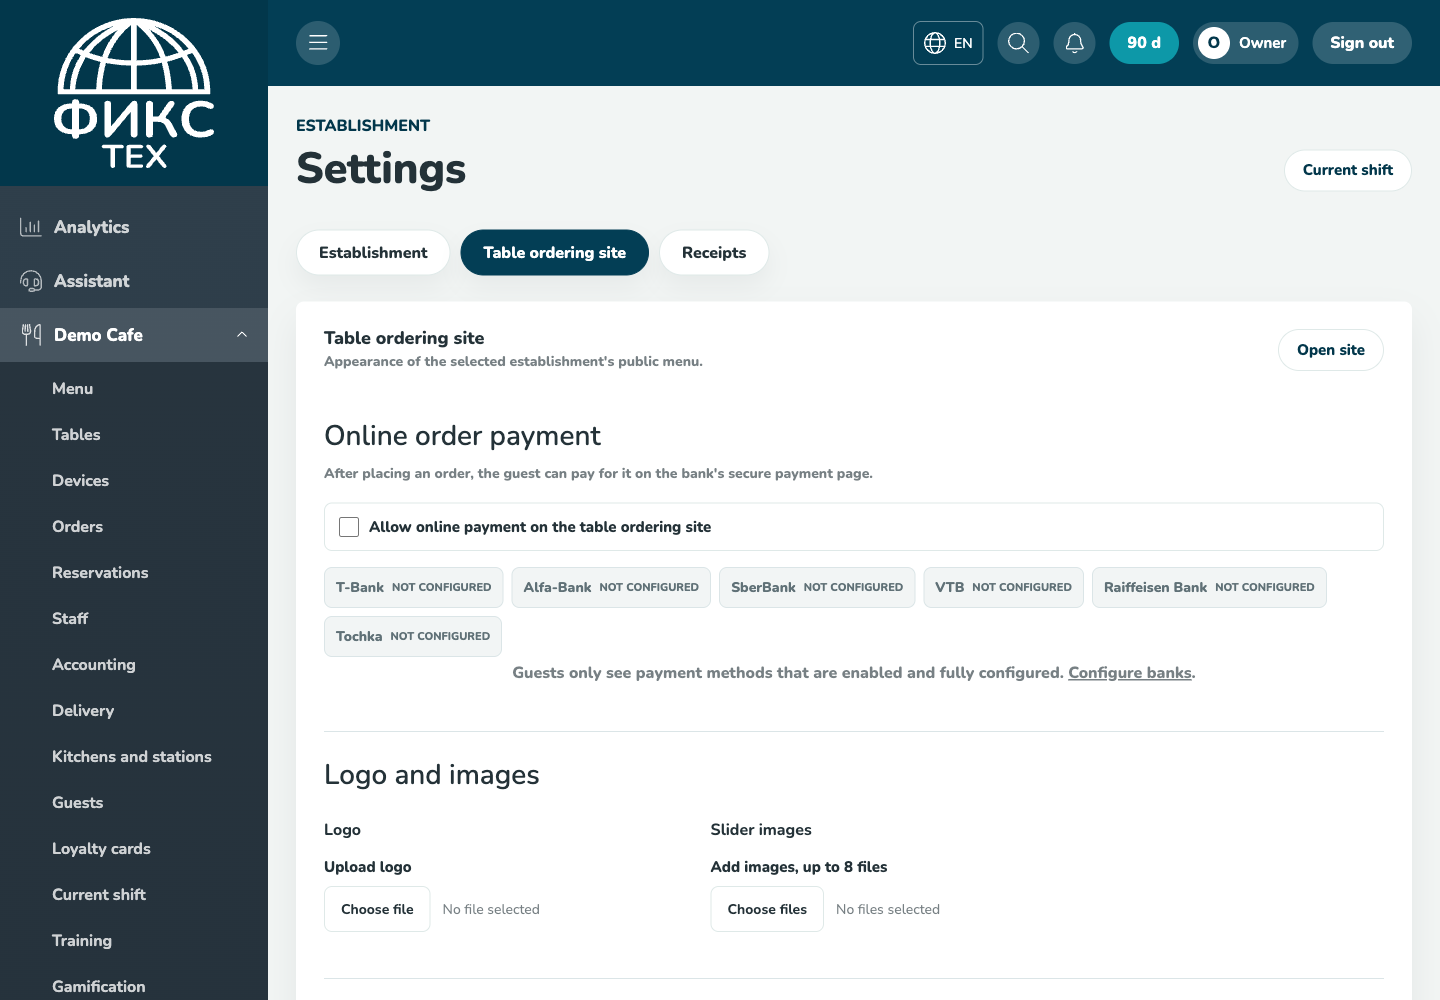
- Open Establishment Settings → Table-ordering site.
- Add your branding. Set the logo, headings, captions and slideshow images.
- Set the color palette. Customize the background, search, navigation, cards, cart, buttons and states.
- Choose the grid and font. Then save and check the result on a computer and a phone.
Check the result
The white logo is visible on a dark background without its own backing, the menu has no gap while scrolling, and the floating button returns to the top.
Troubleshooting
- Refresh the page and select the establishment again. Some data is only shown for the selected establishment.
- Check required fields, phone number format, dates and numeric values. Save errors appear on the right below the header.
- Do not create a duplicate just because a response is slow. Open the list first and check whether the record has already been created.