
Add dishes, change quantities, choose payment and submit an order from the table.
Who this guide is for: This guide is for guests. Before making changes, make sure the correct establishment is selected.
Before you begin
- Sign in to the appropriate workspace and check the establishment name at the top of the page.
- Prepare the information you will enter. Payment and integration settings also require the provider's connection details.
- If an option is missing, check your plan and your role's permissions.
Setup steps
- Select Add to cart. The button changes its text and color once the item is added.
- Open the cart. Check items, modifiers, quantities and the total.
- Enter your details. The name and phone fields use clear colors and an input mask.
- Choose payment and place the order. Wait for confirmation that the order was sent.
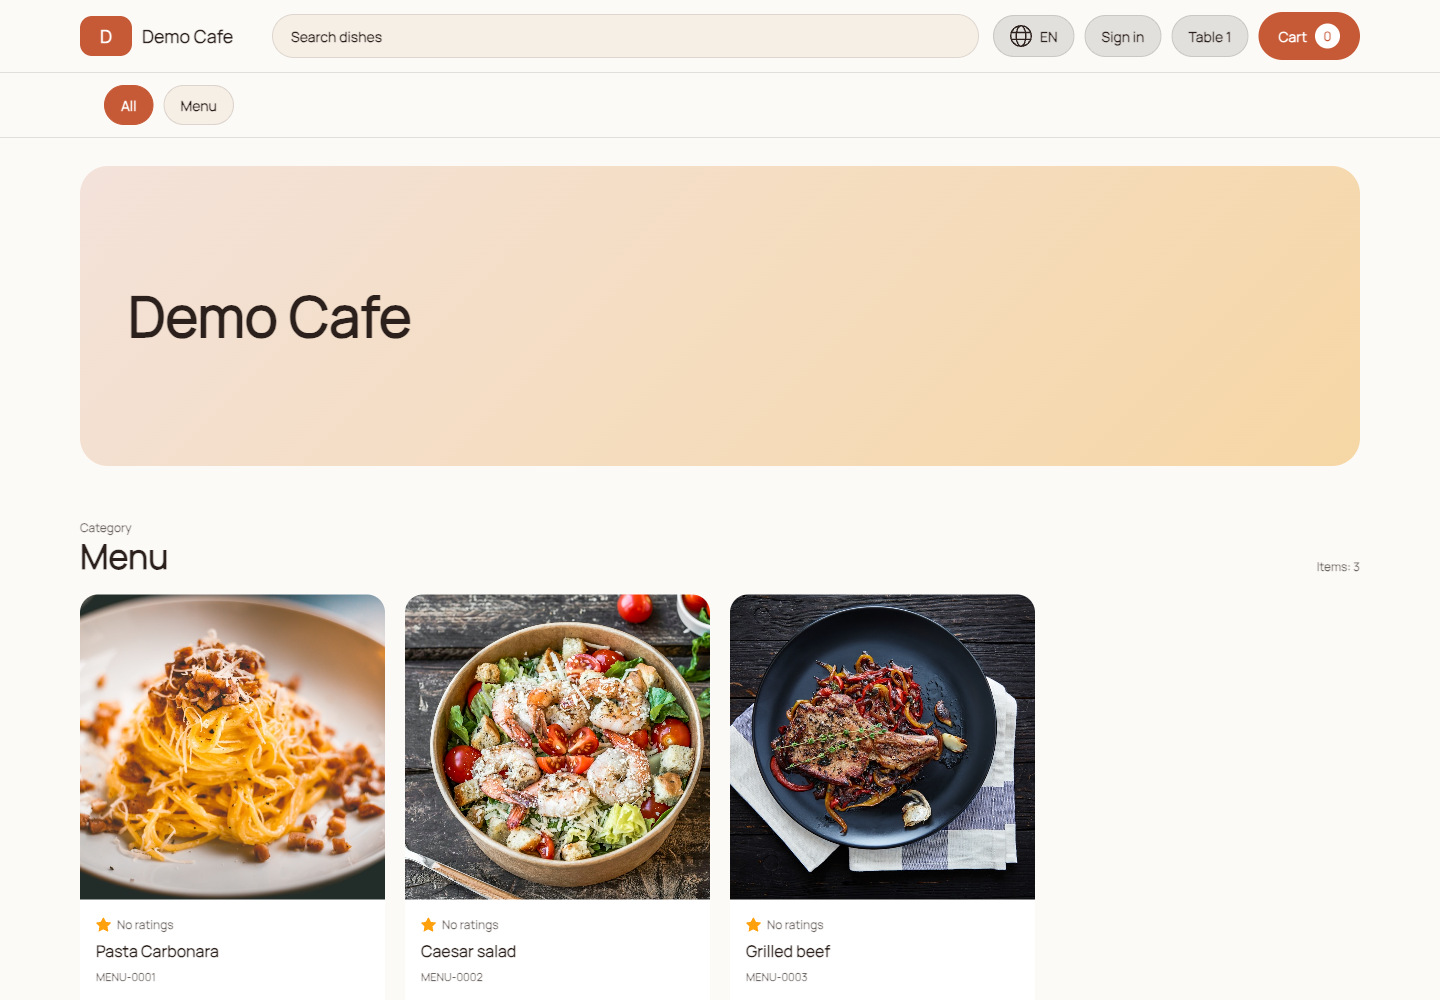
Check the result
The cart count increases, repeated clicks are handled, and one request creates one order for the correct table.
Troubleshooting
- Refresh the page and select the establishment again. Some data is only shown for the selected establishment.
- Check required fields, phone number format, dates and numeric values. Save errors appear on the right below the header.
- Do not create a duplicate just because a response is slow. Open the list first and check whether the record has already been created.