
The guest journey from scanning a QR code to selecting a category and viewing a dish.
Who this guide is for: This guide is for guests. Before making changes, make sure the correct establishment is selected.
Before you begin
- Sign in to the appropriate workspace and check the establishment name at the top of the page.
- Prepare the information you will enter. Payment and integration settings also require the provider's connection details.
- If an option is missing, check your plan and your role's permissions.
Setup steps
- Scan the QR code. Make sure the address belongs to your table.
- Use search or categories. Top-level categories include their child items without duplicates.
- Open a dish. Review the photo, portion size, ingredients, calories, protein, fat, carbohydrates and price.
- Choose modifiers. Select all required options before adding the item.
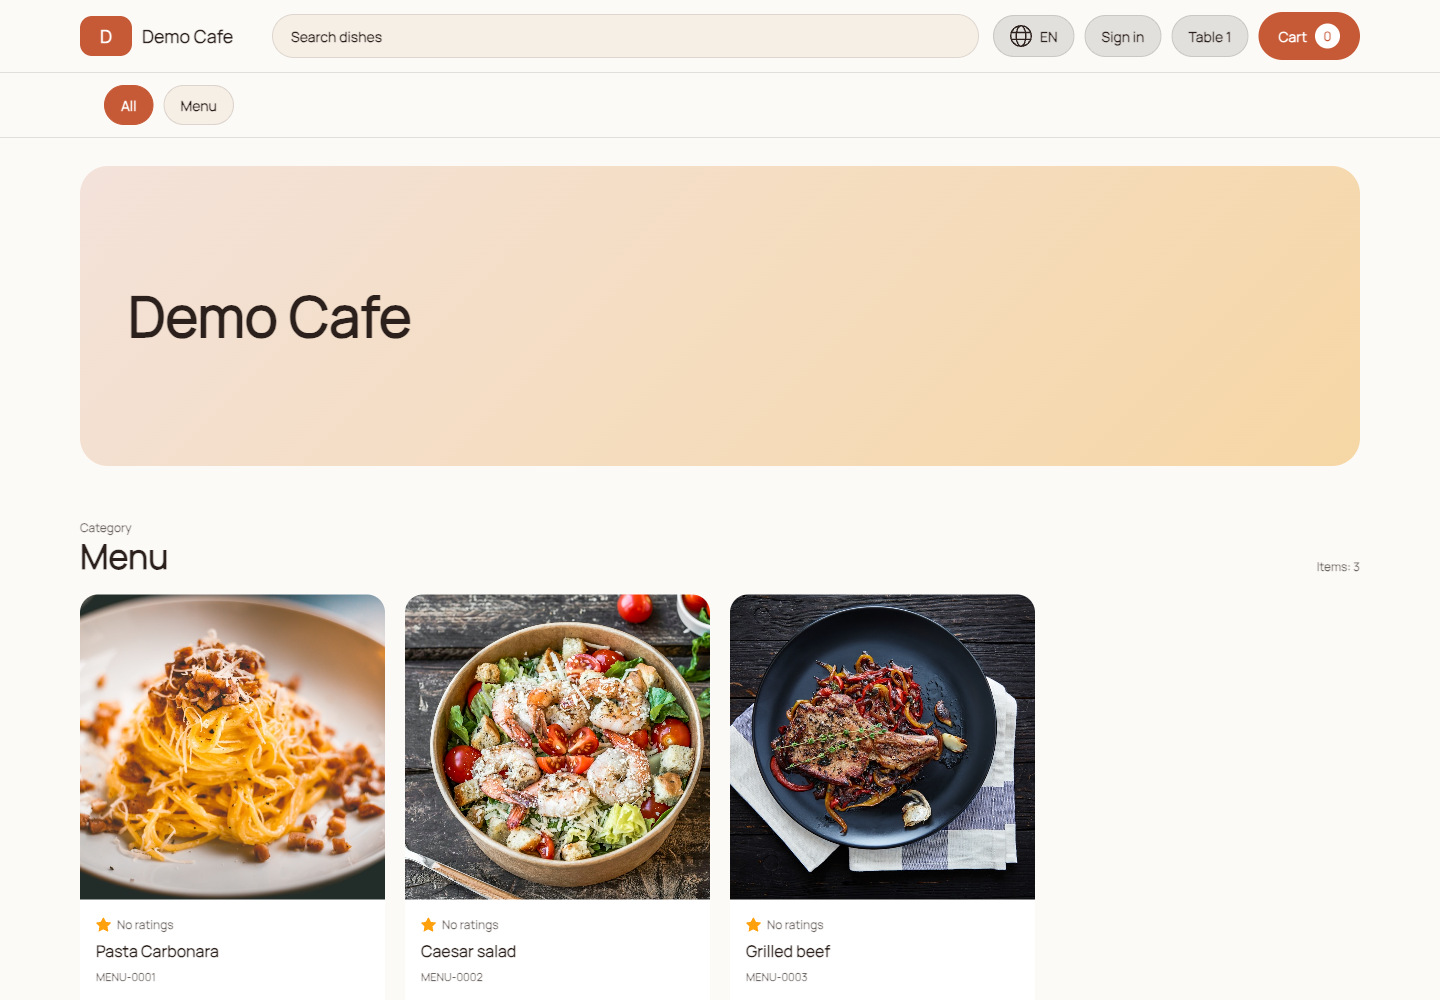
Check the result
The header shows the table, search has no redundant Find label, and the dish card opens without white borders or overlapping elements.
Troubleshooting
- Refresh the page and select the establishment again. Some data is only shown for the selected establishment.
- Check required fields, phone number format, dates and numeric values. Save errors appear on the right below the header.
- Do not create a duplicate just because a response is slow. Open the list first and check whether the record has already been created.