
Group inventory items and choose a flat list, tables, collapsed categories or folders.
Who this guide is for: owners and managers. Before making changes, make sure the correct establishment is selected.
Before you begin
- Sign in to the appropriate workspace and check the establishment name at the top of the page.
- Prepare the information you will enter. Payment and integration settings also require the provider's connection details.
- If an option is missing, check your plan and your role's permissions.
Setup steps
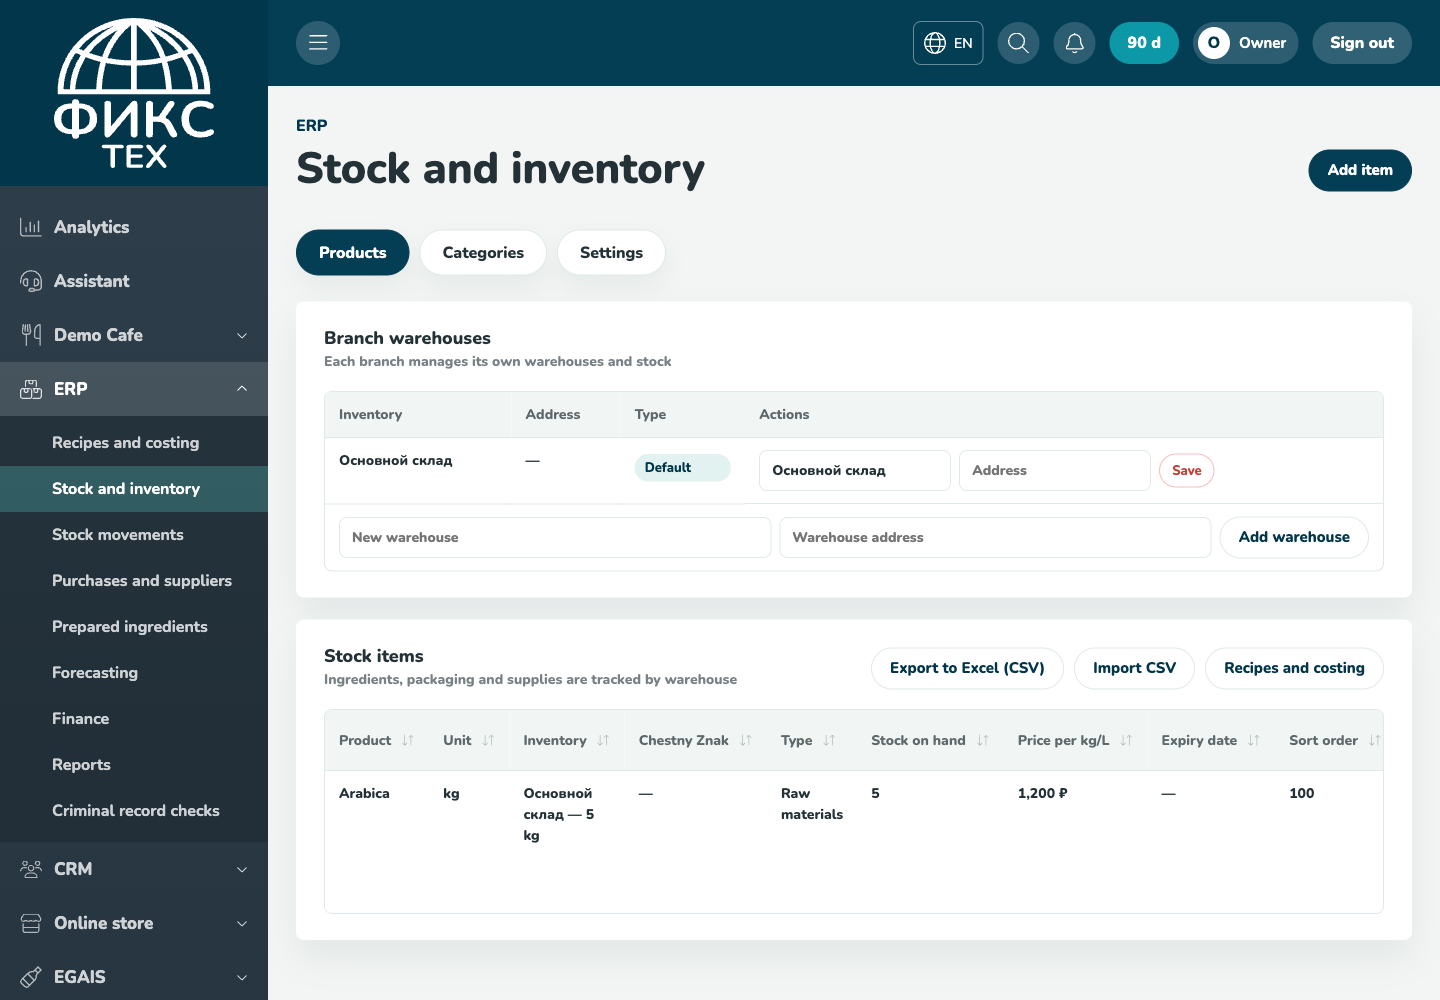
- Open the Categories tab. Create groups and subgroups as needed.
- Assign items to categories. Set the category in each inventory item's details.
- Open the display settings. Choose a mode suited to the size of your catalog.
- Check navigation. In folder mode, open a category and return to the parent level.
Check the result
Each product appears once, category order stays consistent, and the selected mode is saved for the user.
Troubleshooting
- Refresh the page and select the establishment again. Some data is only shown for the selected establishment.
- Check required fields, phone number format, dates and numeric values. Save errors appear on the right below the header.
- Do not create a duplicate just because a response is slow. Open the list first and check whether the record has already been created.