
Set up pre-checks, kitchen tickets and a secure local printing connection on Windows.
Who this guide is for: owners and managers. Before making changes, make sure the correct establishment is selected.
Before you begin
- Sign in to the appropriate workspace and check the establishment name at the top of the page.
- Prepare the information you will enter. Payment and integration settings also require the provider's connection details.
- If an option is missing, check your plan and your role's permissions.
Setup steps
- Assign the devices. In receipt settings, select the fiscal register, pre-check printer and kitchen printer separately.
- Install the agent. Download FixTechPrintAgent to the Windows checkout computer, save the issued token and enable automatic startup.
- Check the local equipment. For a network printer, enter its private IP and port; for ATOL, install the driver package and Web Requests.
- Run safe checks. Request device status first; issue a real fiscal receipt only under an approved test scenario.
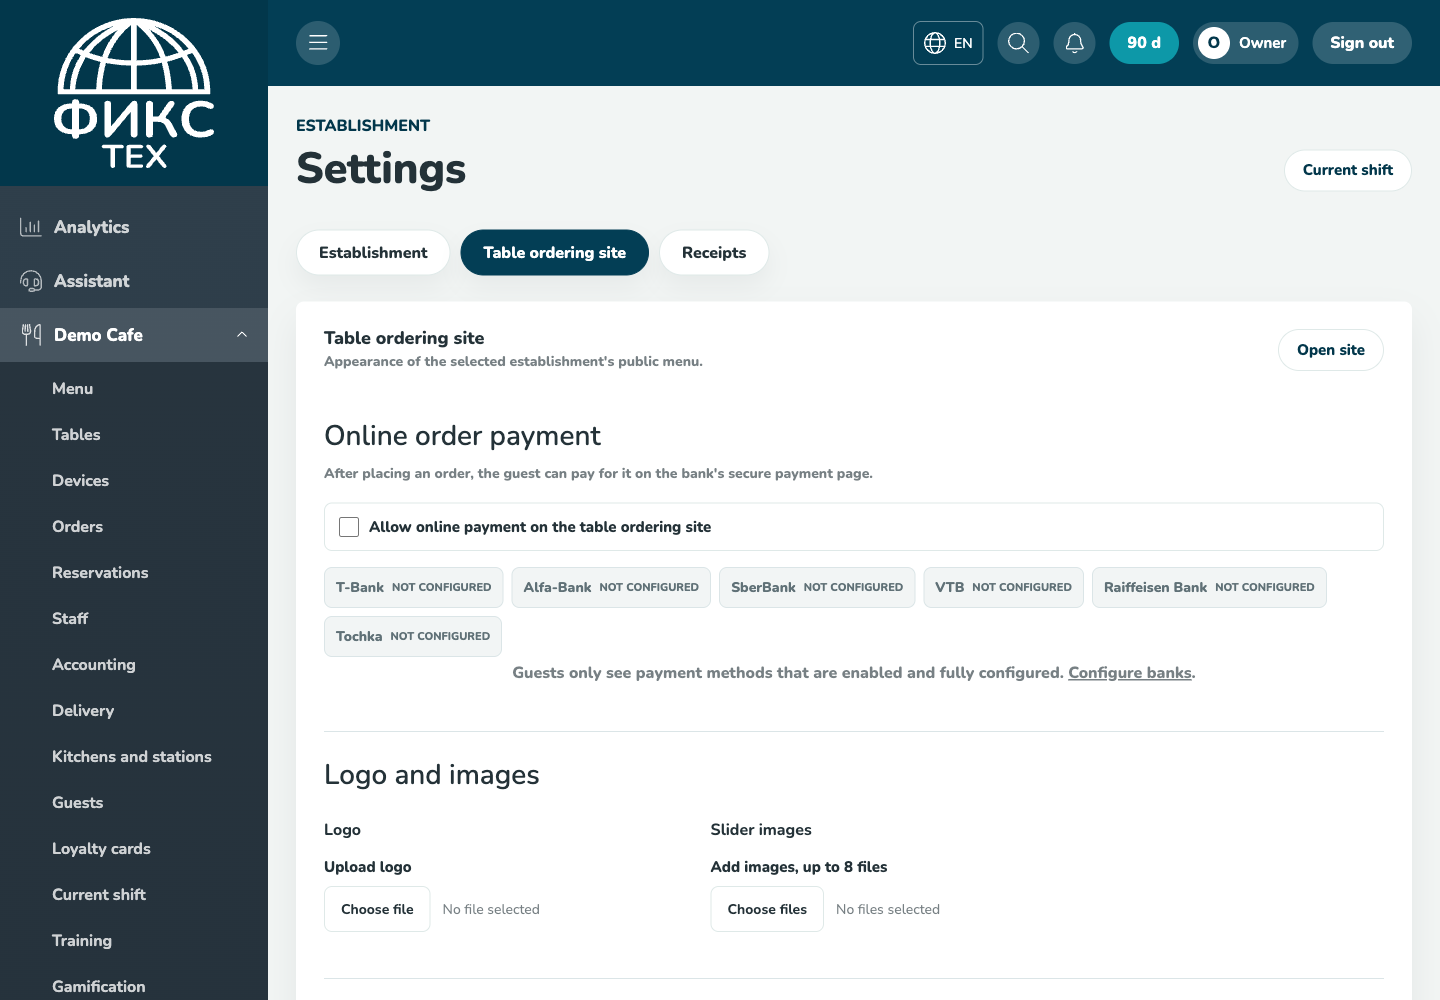
Check the result
The agent appears online and returns a clear diagnostic result. A successful TCP send confirms data transfer but does not prove that paper was printed; an ATOL check does not create a fiscal document.
Troubleshooting
- Refresh the page and select the establishment again. Some data is only shown for the selected establishment.
- Check required fields, phone number format, dates and numeric values. Save errors appear on the right below the header.
- Do not create a duplicate just because a response is slow. Open the list first and check whether the record has already been created.