
Group orders into a route sheet, assign an available courier and monitor delivery without reloading the page.
Who this guide is for: owners and managers. Before making changes, make sure the correct establishment is selected.
Before you begin
- Sign in to the appropriate workspace and check the establishment name at the top of the page.
- Prepare the information you will enter. Payment and integration settings also require the provider's connection details.
- If an option is missing, check your plan and your role's permissions.
Setup steps
- Prepare the orders. Check the Courier method, address, coordinates and readiness of each order.
- Create a route. Open Delivery, select orders from one establishment and set the stop order.
- Assign a courier. The employee must be online, have the courier role and not be running another active route.
- Monitor progress. After pickup, monitor statuses, the map and completion of every stop.
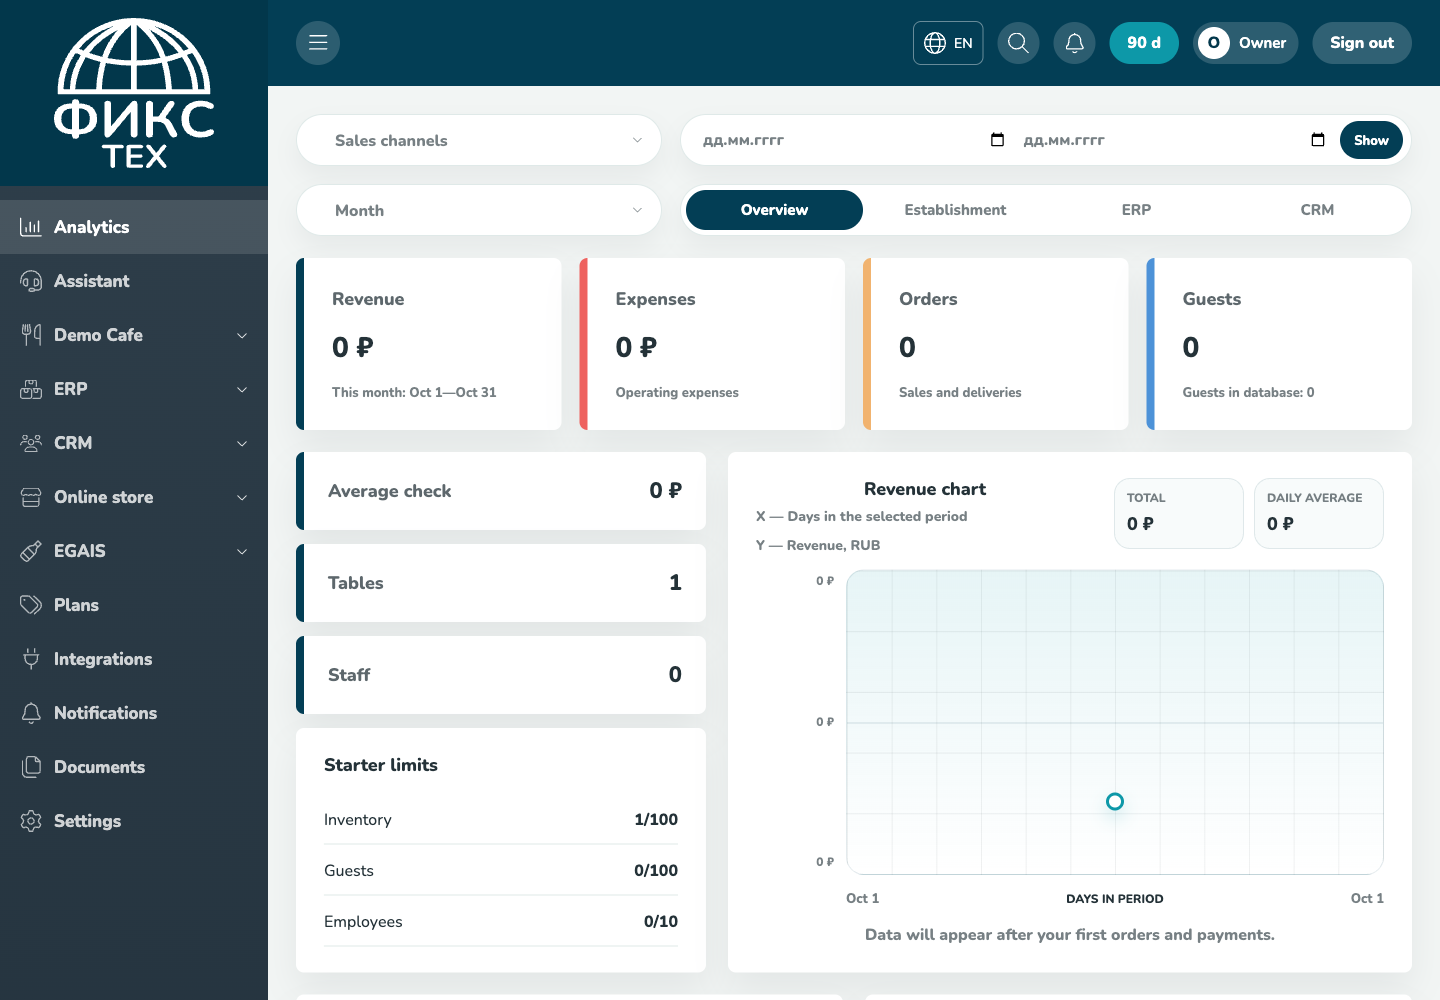
Check the result
An order cannot belong to two active routes, the map updates without losing the selected view, and the guest sees the courier only after the order has actually been picked up.
Troubleshooting
- Refresh the page and select the establishment again. Some data is only shown for the selected establishment.
- Check required fields, phone number format, dates and numeric values. Save errors appear on the right below the header.
- Do not create a duplicate just because a response is slow. Open the list first and check whether the record has already been created.